Beginner’s Guide to Brushes & Tools: What You Actually Need
Let’s be honest — walking into the makeup tools aisle can feel like entering a painter’s workshop. Flat, fluffy, angled, tapered, stippled… do you really need 20 brushes? Short answer: no. Whether you’re new to makeup or just want to simplify, this guide breaks down the essential tools you truly need, what each one does, and how to build a smart, affordable starter set that works for everyday use.
Outline
- Why Tools Matter
- Brush vs Sponge: What’s the Difference?
- Face Brushes: The Essentials
- Eye Brushes: Keep It Simple
- Bonus Tools Worth Having
- How to Clean Your Brushes (And Why It’s Important)
- Final Thoughts
Why Tools Matter
Great makeup starts with great tools. Even the most expensive products won’t apply properly if you’re using the wrong brush — or worse, your fingers when you shouldn’t be. The right tool helps:
- Apply products more evenly
- Blend seamlessly
- Avoid wasting product
- Reduce skin irritation or breakouts
Think of brushes as your art tools — you only need a few good ones to paint a masterpiece.
Brush vs Sponge: What’s the Difference?
Brushes
- Offer more control
- Work best for powders and targeted application
- Great for buildable, precise coverage
Sponges (like the beauty blender)
- Deliver a more natural, skin-like finish
- Best with liquids and creams
- Must be used damp for best results
Pro tip: Use a sponge for seamless foundation, a brush for everything else.
Face Brushes: The Essentials
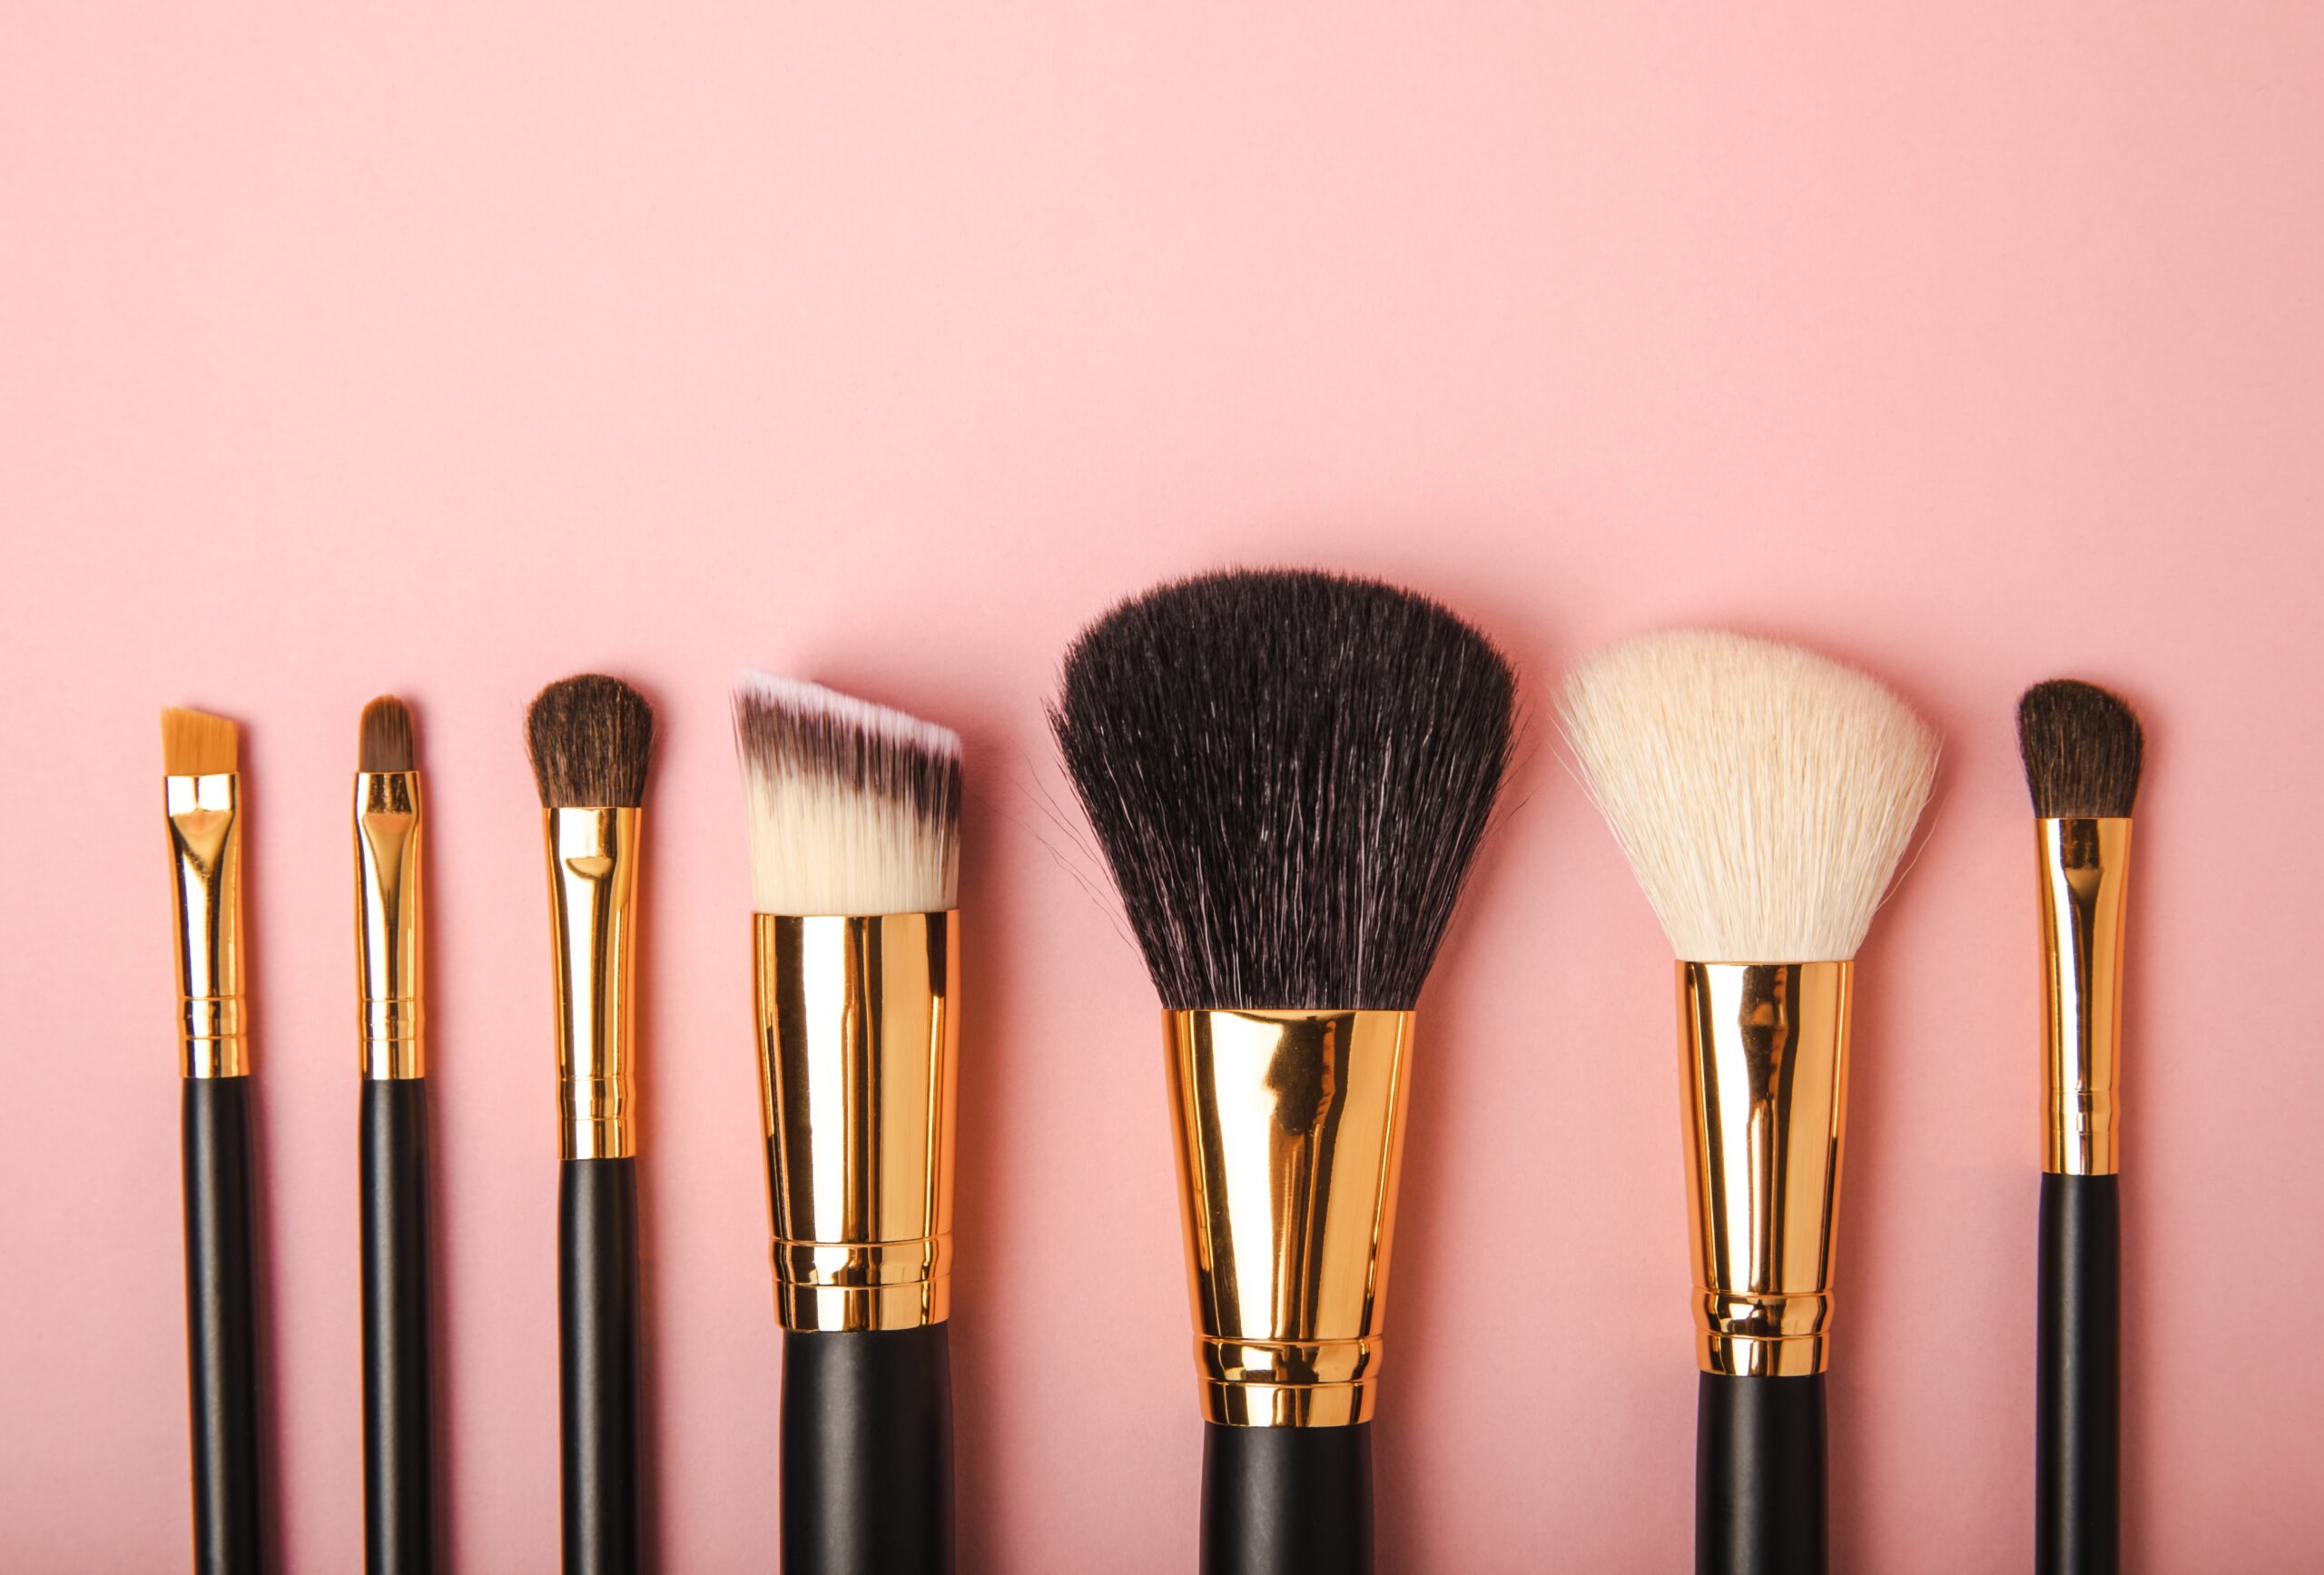
Here are the only face brushes a beginner really needs:
Foundation Brush (or Sponge)
Use for: Liquid or cream foundation
Choose:
- A flat-top kabuki brush for buffing
- A damp sponge for natural, even finish
Concealer Brush
Use for: Spot concealing or under eyes
Choose:
- Small, flat brush for precision
- Or use your finger for under-eye blending (warmth helps melt product)
Powder Brush
Use for: Setting powder or finishing powder
Choose:
- Large, fluffy and soft for light application
Gives a smooth, diffused look without caking
Blush / Bronzer Brush
Use for: Applying colour to cheeks or warmth to your face
Choose:
- Medium-size fluffy brush, slightly angled or rounded
One brush can often work for both blush and bronzer.
Highlighter Brush (optional but lovely)
Use for: Sweeping highlight across cheeks, nose, cupid’s bow
Choose:
- Small, tapered fluffy brush
A fan brush works too — but isn’t essential unless you’re a glow addict.
Eye Brushes: Keep It Simple
You don’t need a whole set of tiny brushes — just three basic eye tools to start with:
Flat Shader Brush
Use for: Packing shadow onto the lid
Choose:
- Dense, flat and firm — for pigment payoff
Blending Brush
Use for: Blending shadow in the crease
Choose:
- Soft, fluffy and slightly domed
This brush does most of the work. If you only buy one eye brush — make it this one.
Angled Brush (multi-use MVP)
Use for: Filling brows, smudging liner, detailing the lash line
Choose:
- Firm with sharp angle
Also perfect for powdered eyeliner or cleaning up the brow arch.
Bonus Tools Worth Having
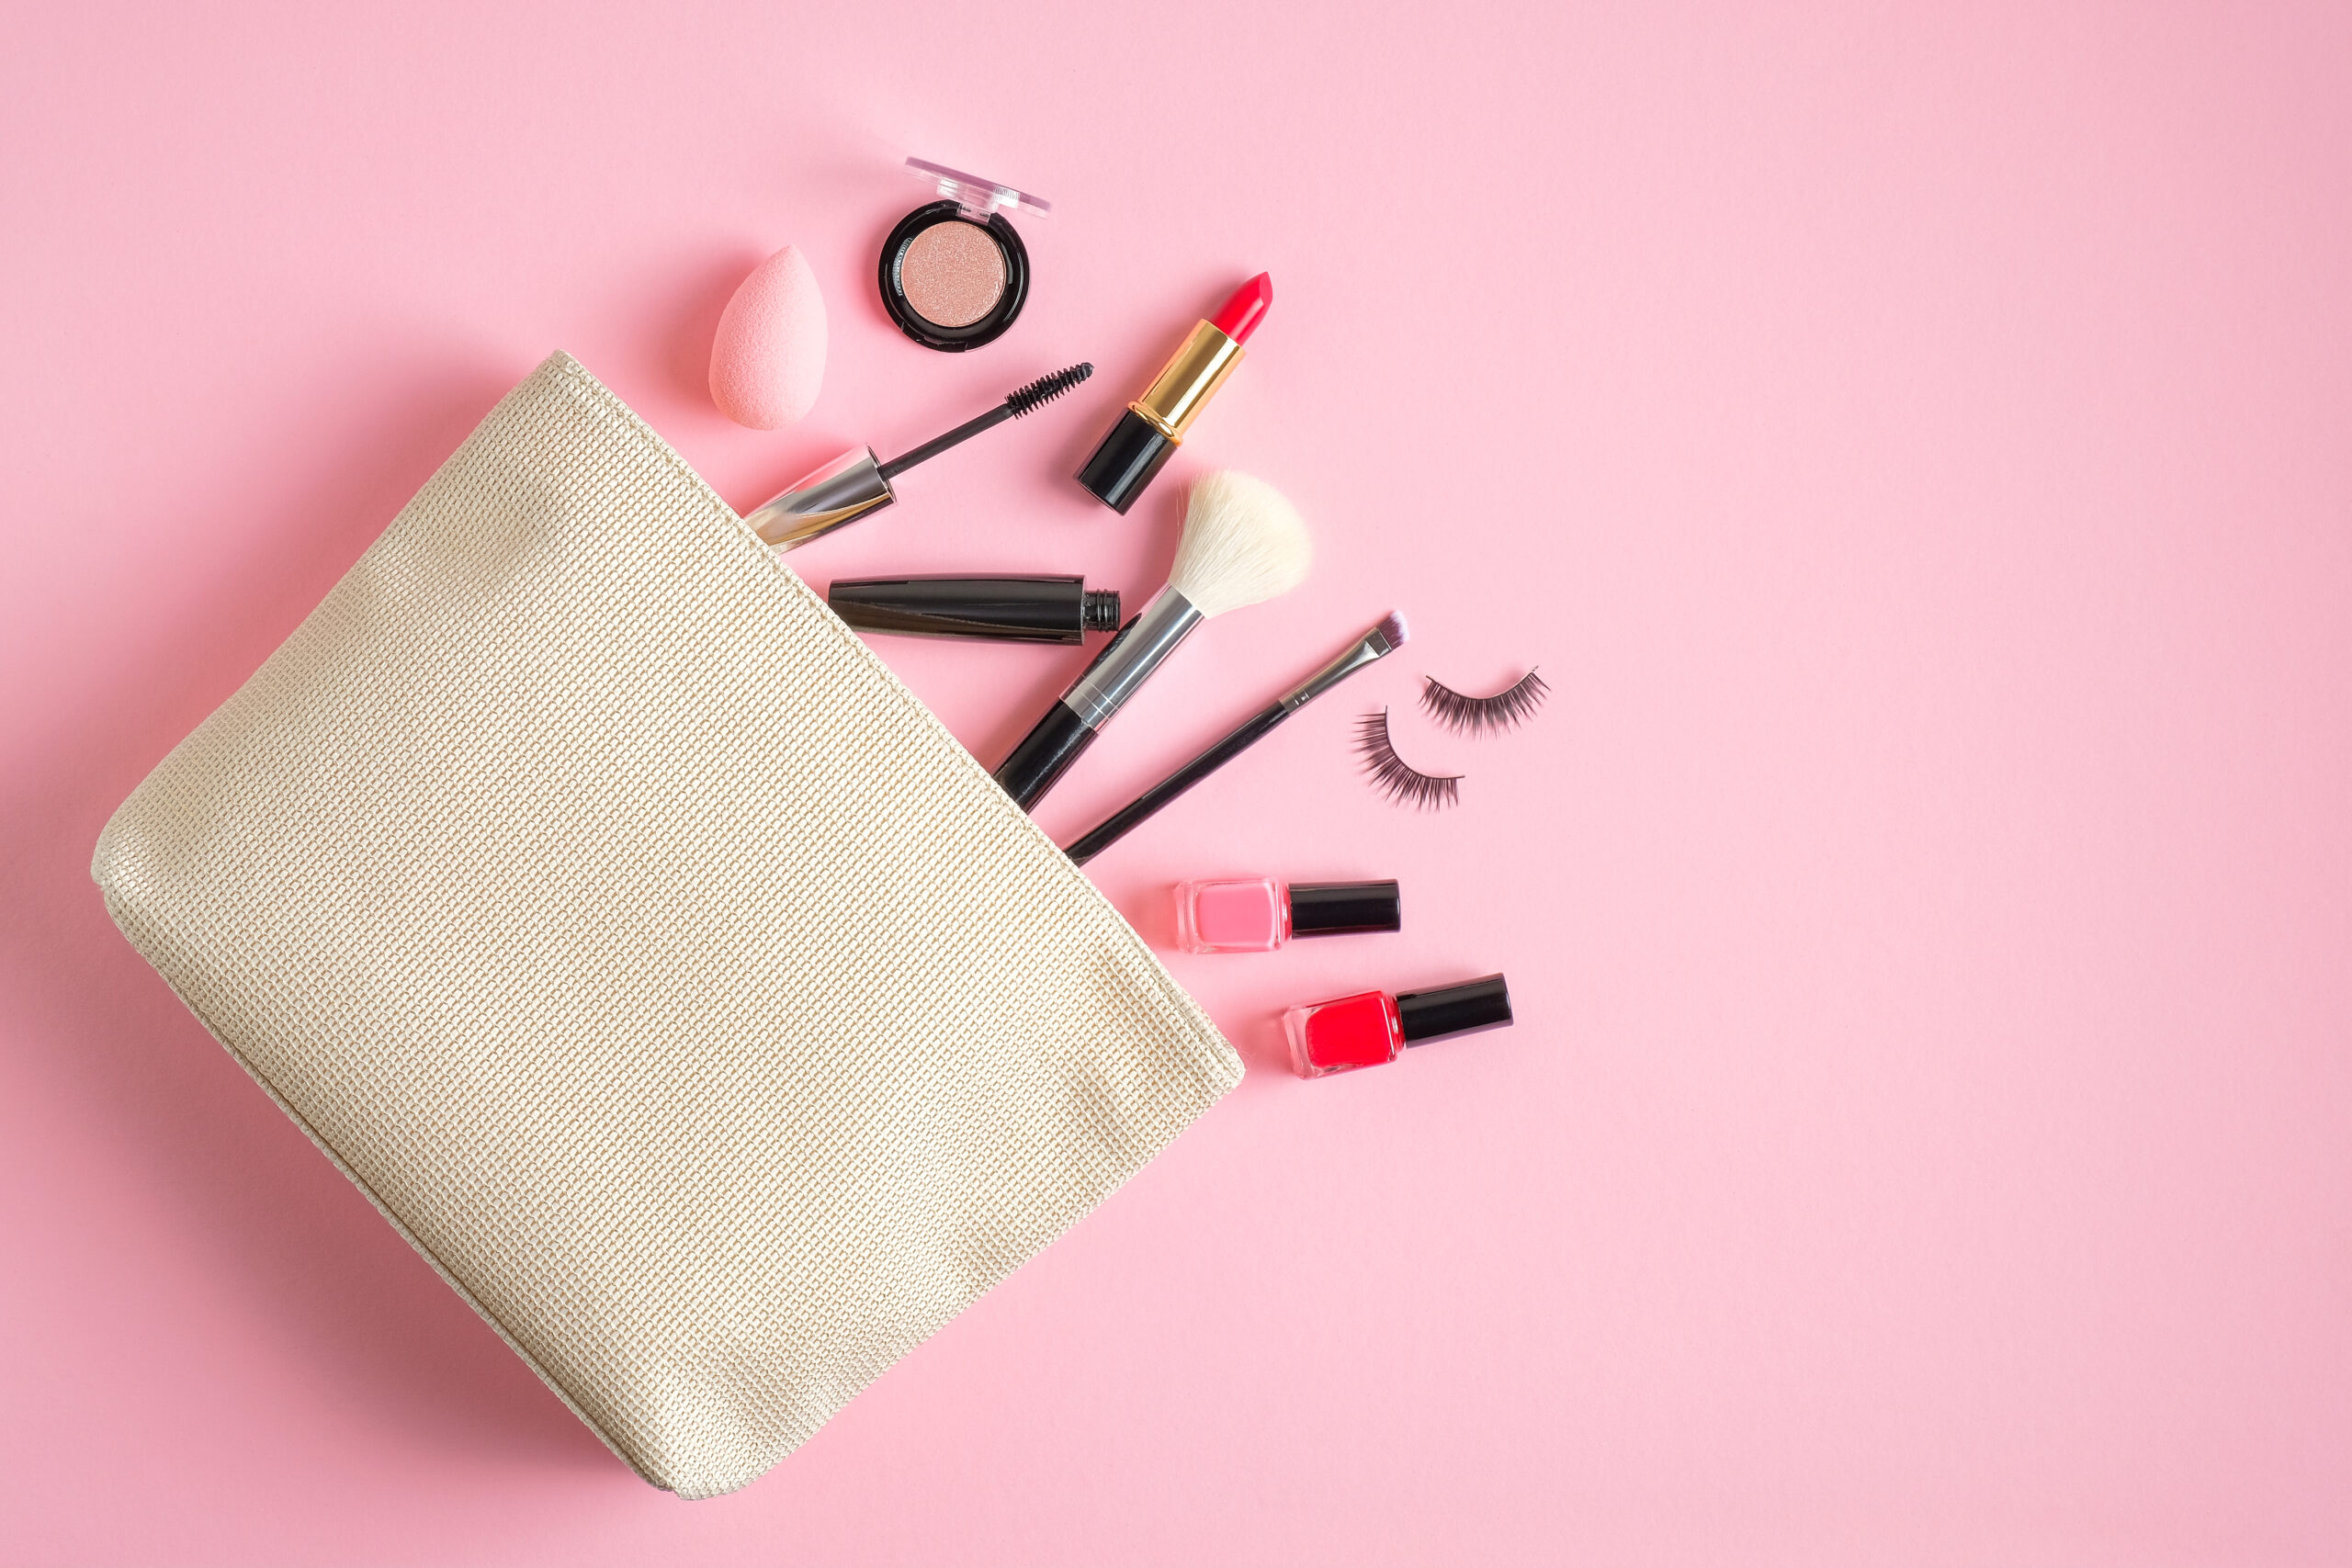
These aren’t must-haves — but they’ll make your life easier:
| Tool | What It Does |
|---|---|
| Spoolie | Brushes brows, blends brow pencil/gel |
| Lash curler | Opens up your eyes instantly |
| Makeup sponge | Great for blending foundation/concealer |
| Tweezers | For brow tidy-ups or false lash placement |
| Sharpener | Keeps lip/eye pencils precise |
You can often find these in affordable starter sets or even multi-task with tools you already own.
How to Clean Your Brushes (And Why It’s Important)
Dirty brushes = breakouts, patchy makeup and bacteria.
How often?
- Face brushes: Once a week
- Eye brushes: Every 7–10 days (sooner if you use bold colours)
How to clean:
- Use brush cleanser or gentle shampoo
- Swirl brushes in your palm or a silicone mat
- Rinse well, squeeze gently
- Let dry flat (not upright – it damages bristles)
Sponges should be cleaned after every use (they soak up a lot more bacteria).
Final Thoughts
You really don’t need a 30-piece brush set. With just a handful of quality tools, you can master the basics, look polished, and build confidence in your routine.
🎨 Start simple, learn what you love — and upgrade only when it makes sense.


